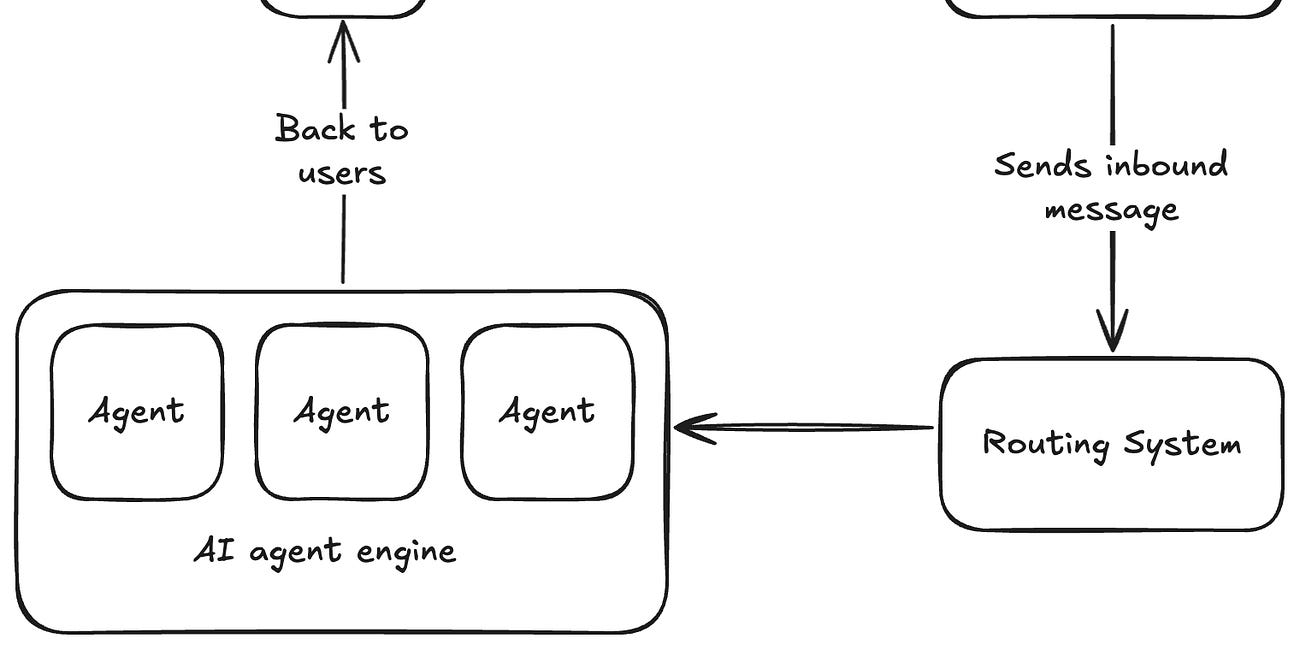
In my last article, I shared with you this idea about how to build a Laravel application with agents.
The new method of building apps with AI agents
I began thinking about creating an app with Laravel that allows users to interact primarily with AI agents. I’ve been exploring various design ideas, and recently, an interesting concept has come to mind. Let me share it with you.
However, I then had the idea of creating a Laravel package to make it easier. So, I created NodeGraph.
NodeGraph is a compact state-graph runtime designed for Laravel, making it easy to create controlled flows. In these flows, nodes can be AI agents or custom code that executes when the flow reaches a particular state, much like LangGraph.
You would ask, Why don't you just use LangGraph? And the reason is that they built it for Python and JavaScript, and I really like to work with PHP and Laravel.
Also, the key difference is that NodeGraph is fully integrated with Laravel. We store the State and Checkpoints in the database, which allows us to have more flexibility on when and how to run our flows, while keeping track of everything that's happening. This package can be helpful when building complex state machines, and we need to keep track of what’s happening on each run.
How NodeGraph Works
The first thing you need to create is a State, which is a PHP enum that holds all the possible states:
use Taecontrol\NodeGraph\Contracts\HasNode;

enum OrderState: string implements HasNode
{
    case Start = 'start';
    case Charge = 'charge';
    case Done = 'done';

    public function node(): string
    {
        return match ($this) {
            self::Start => \App\Nodes\StartNode::class,
            self::Charge => \App\Nodes\ChargeNode::class,
            self::Done => \App\Nodes\DoneNode::class,
        };
    }
}
Notice that there is a node() method where you map each State to a Node. The Nodes look like this:
namespace App\Nodes;

use App\Decisions\SimpleDecision;
use App\Enums\OrderState;
use App\Events\OrderEvent; // extends Taecontrol\NodeGraph\Event
use Taecontrol\NodeGraph\Node;

class StartNode extends Node
{
    public function handle($context): SimpleDecision
    {
        $d = new SimpleDecision(OrderState::Charge);
        $d->addMetadata('from', 'start');
        $d->addEvent(new OrderEvent('start'));
        return $d;
    }
}

class ChargeNode extends Node
{
    public function handle($context): SimpleDecision
    {
        // ... charge logic ...
        $d = new SimpleDecision(OrderState::Done);
        $d->addMetadata('from', 'charge');
        $d->addEvent(new OrderEvent('charged'));
        return $d;
    }
}

class DoneNode extends Node
{
    public function handle($context): SimpleDecision
    {
        $d = new SimpleDecision(null); // stay in terminal state
        $d->addMetadata('from', 'done');
        $d->addEvent(new OrderEvent('done'));
        return $d;
    }
}
Each Node has a centralized Context:
use Taecontrol\NodeGraph\Context;
use Taecontrol\NodeGraph\Models\Thread;

class OrderContext extends Context
{
    public function __construct(protected Thread $thread) {}

    public function thread(): Thread
    {
        return $this->thread;
    }
}
We can use Context to pass whatever we need to our Nodes. But, it is required that you pass a Thread as a parameter. Nodes return a Decision:
namespace App\Decisions;

use Taecontrol\NodeGraph\Decision;

class SimpleDecision extends Decision {}
As you saw in the Node definitions’ code, you can add events, set a new state, or update some metadata in a Decision. When the flow runs in that Node, the Thread's current State is updated to what you specified, the events are dispatched, metadata is stored in the Thread, and a new checkpoint is created.
The next step is to put everything together in a Graph.
use Taecontrol\NodeGraph\Graph;
use App\Enums\OrderState;

class OrderGraph extends Graph
{
    public function define(): void
    {
        $this->addEdge(OrderState::Start, OrderState::Charge);
        $this->addEdge(OrderState::Charge, OrderState::Done);
        // Done has no outgoing edges, so it's terminal
    }

    public function initialState(): OrderState
    {
        return OrderState::Start;
    }
}
Finally, you can run it like this:
use Taecontrol\NodeGraph\Models\Thread;

$thread = Thread::create([
    'threadable_type' => \App\Models\Order::class, // anything morphable
    'threadable_id' => (string) \Illuminate\Support\Str::ulid(),
    'metadata' => [],
]);

$context = new \App\Contexts\OrderContext($thread);
$graph = app(\App\Graphs\OrderGraph::class);

$graph->run($context); // Start -> Charge
$graph->run($context); // Charge -> Done
$graph->run($context); // Done is terminal; finished_at will be set on this run
See how we first create a Thread, which is a model with a polymorphic relation to the model we want to connect it to. We make a Context and pass the Thread as a parameter. Then, we instantiate the Graph. Finally, we run the Graph.
And it’s that simple. The package is pretty much in beta for now, and you can get more information about how to install and use it in the NodeGraph repository. Let me know what you think!

